Have you received a new cordless Yealink phone from Telair and are looking to set it up?
If your system is new and you are setting up the equipment for the first time, we'd recommend reaching out to our Technical Support team to help you get it working.
- 1800 835 247 (Option 2, Option 2)
- support@telair.com.au
If you have an existing system, and have received a replacement cordless phone, see this guide on how to replace the old phone with the new phone in the PBX portal. You'll need to remove the old phone's details from the user's extension and configure the new details.
Please note, you will need to have access to the Hosted PBX configuration platform where you can manage your phone system. If you need access or are not sure if you already have access, please feel free to contact our Support team.
Keep your new cordless handset nearby and take note of the MAC address at the bottom of the base station. This will be a 12-digit identifier listed below one of the barcodes; e.g. 7C-5A-1C-9F-89-FF
The base station will look something like this:
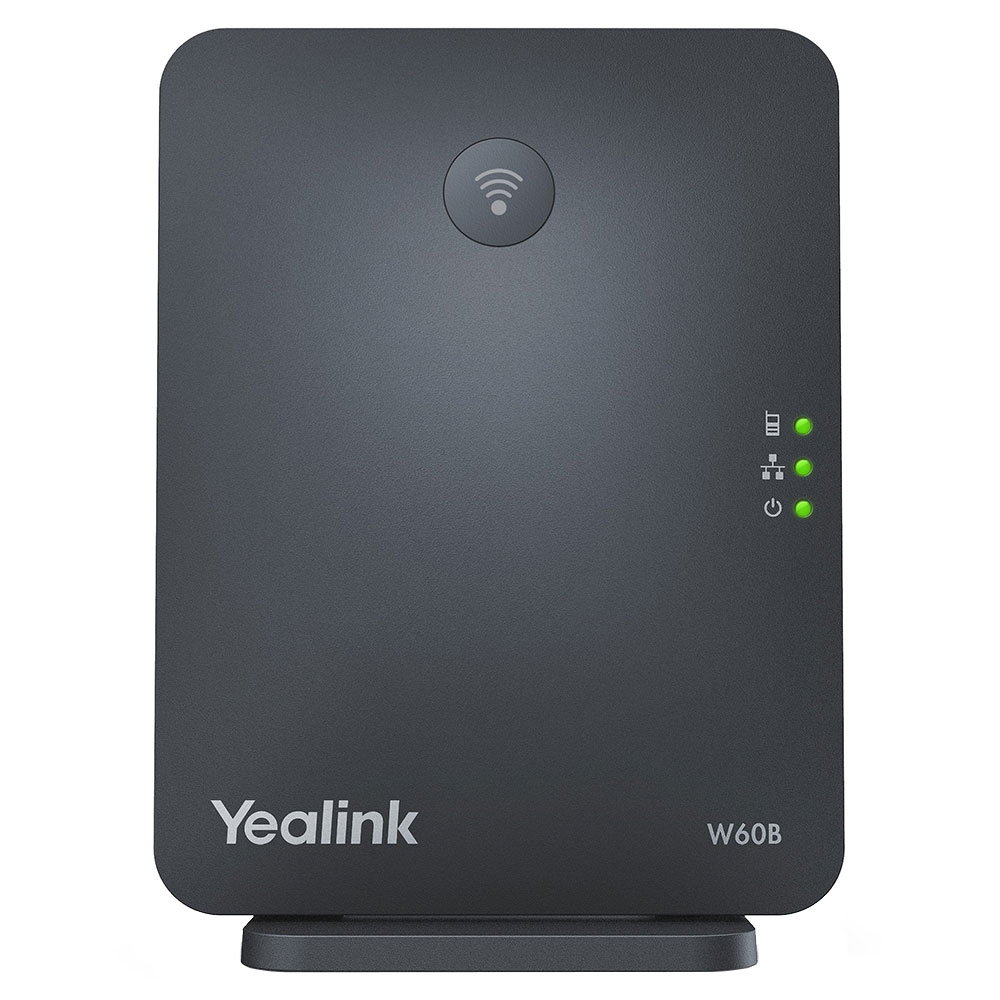
Please do these steps before you plug the base station in to power or connect it to internet for the best results.
Step 1: Adding the MAC to the phone system
Log in to the MyCloud Portal on a computer or laptop.
Once you have access to your phone system, navigate to the Offices and Users section.
Select which user needs to have the base station/cordless configured to it:
Click into the user, and add a phone with its brand/series/model: (Manage User -> Handsets)
Enter the MAC address (If there is an existing handset, simply replace its details with the new one):
Click to Add New at the bottom right of the window.
Ensure you click the 'Apply Changes' at the top of the screen.
Now you are ready to connect the base station to power and make sure it has an internet connection.
STEP 2: Pairing the handset to the base
- Make sure the base is plugged in to an internet source and powered on.
- Check that all three green lights are on on the base (don't worry about the WiFi button on it, it doesn't actually have anything to do with WiFi, that's the 'pairing' button)
- Wait until all the lights are solid green (middle light is the internet light, important that that is solid)
- Grab the cordless handset. Press the centre 'ok' button to open the menu. Navigate to Settings -> Registration -> Select Base
IMPORTANT - go to the base station and press that WiFi button, just once until that top green light starts flashing. This puts the base in pairing mode for 30 sec. - Back on the handset - inside the Select Base option. Here the phone should be searching and finding the base (it should see the MAC of the base on the screen of the phone)
- Select that base when it appears. It will load for a while before saying 'base subscribed' if it's successful. The phone might start working from here.
If it does not pair properly, or if you try making a test call and get a 'Line Forbidden' error, see below:
- Go back to Settings -> Registration, and this time go to the Register Handset option.
- Here, you should see Base1, Base2, etc
- Select the entry that has the base MAC address in it (usually will be Base1)
- After a moment of thinking, the handset should register to this base.
Make some test calls in to the phone and out from it. If you have any further problems or issues with following the above, we'd be more than happy to help.
- Tech Support: 1800 835 247 (Option 2, Option 2)
-
support@telair.com.au